|
Header sequence |
|
|
 |
|
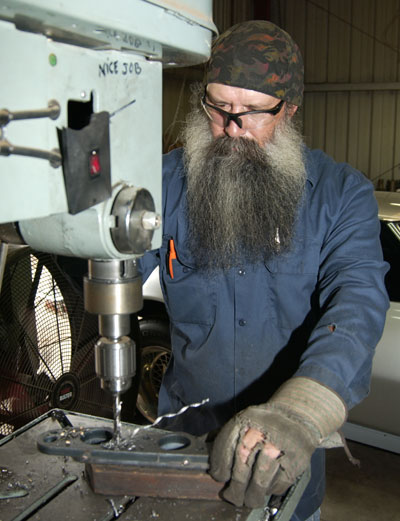
Building a set of headers starts with
the flange. No, that's not Billy Gibbons
moonlighting doing headers. It's Dawson
Racing Headers Technician, Mario Avila. |
|
 |
|
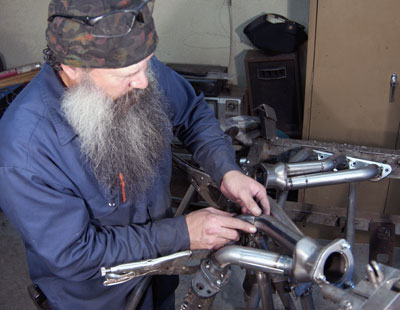
Piece by piece, the first Dawson 3800
header off the master takes shape. Jigs
hold the flange and the collector in
place. The next step was to tack-weld
the #2 primary pipe. |
|
 |
|
Most of the primaries are welded-up out
of shorter straight or curved sections. |
|
 |
|
Then, they are tack welded into the
header. |
|
 |
|
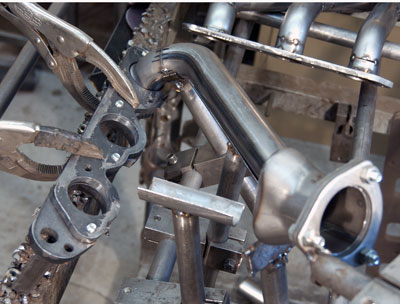
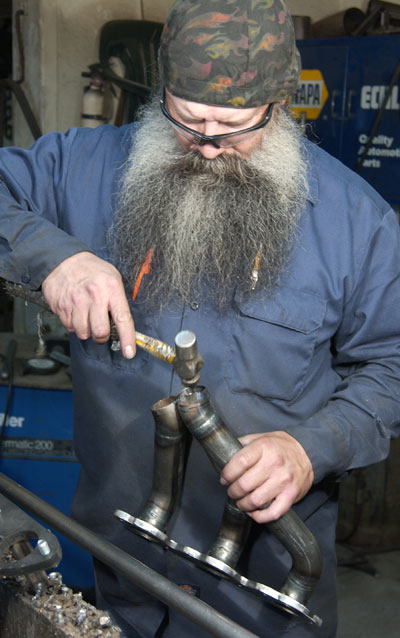
Soon, the final primary is added and it
actually looks like a header. |
|
 |
|
Prior to the collector being attached, a
little tweaking with a ball-peen was
required. |
|
 |
|
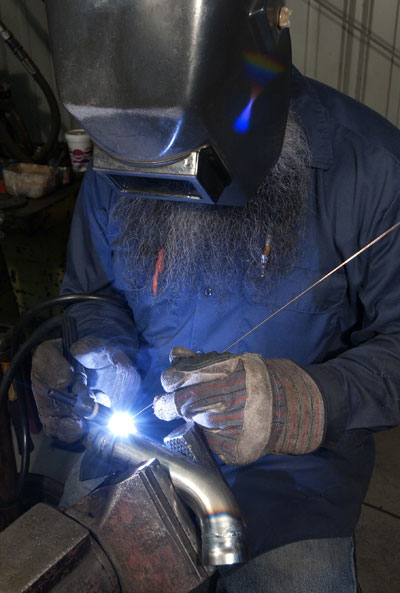
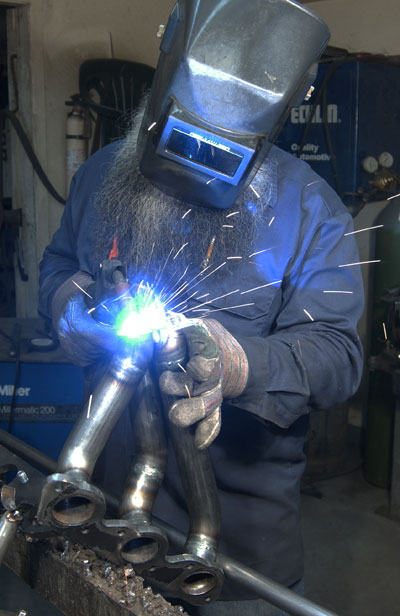
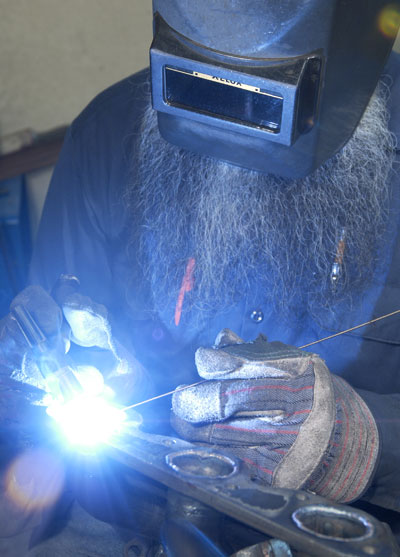
First, the three primaries are welded together.
|
|
 |
|
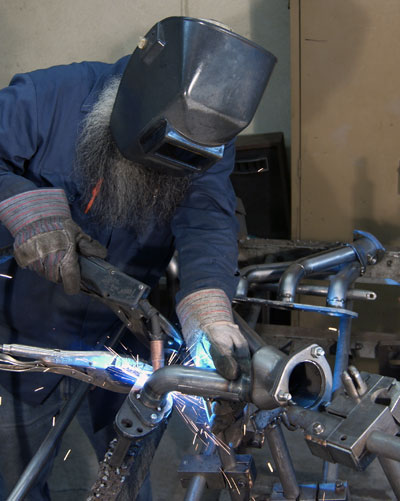
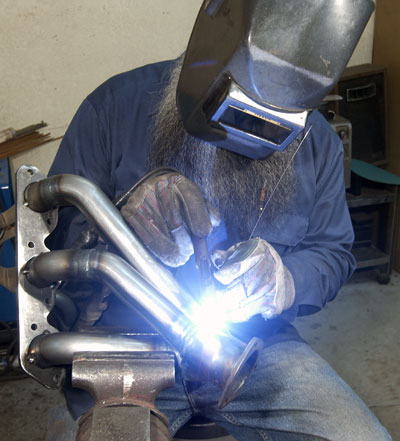
Then the collector is welded in place. |
|
 |
|
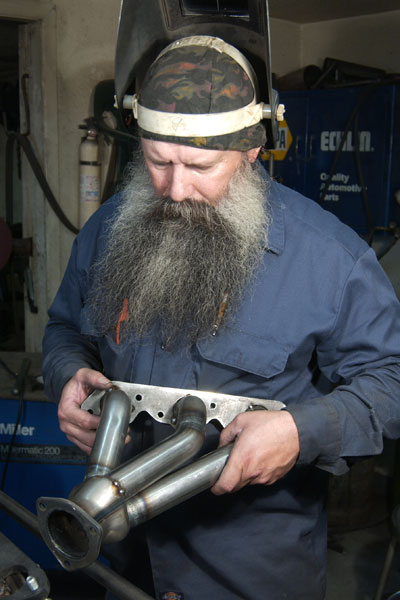
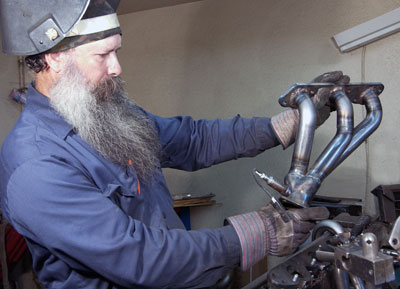
Mario inspects the work prior to test
fitting the header to the engine. |
|
 |
|
With the partially-finished right header
in place, the crossover pipe and
collector are jigged-up. |
|
 |
|
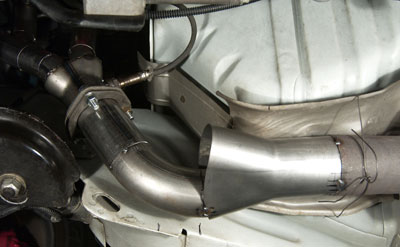
The cross-over pipe is tacked while bolted to the
headers and the catalytic converter.
|
|
 |
|
The header is removed and the final
welds, including those to the inside the
pipe to flange joints, are made. |
|
 |
|
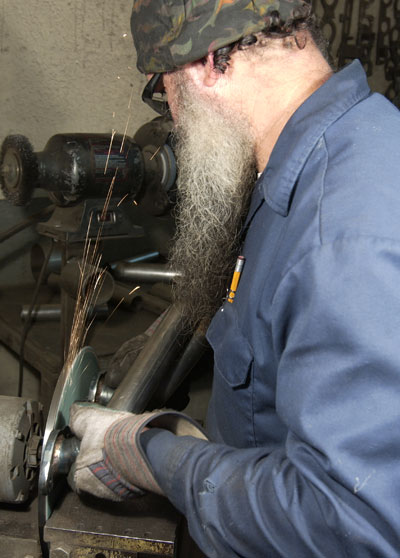
After welding, the flange-to-head
surface is ground flat. |
|
 |
|
The right header is complete, with Denso
oxygen sensor screwed in place, ready to
install. |
|
 |
|
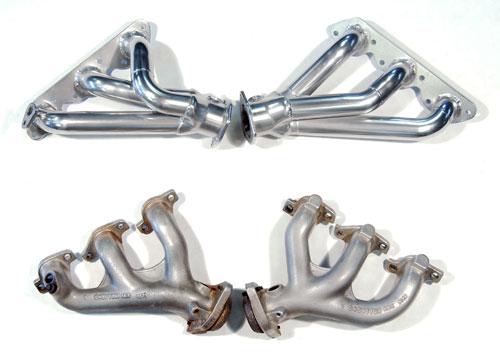
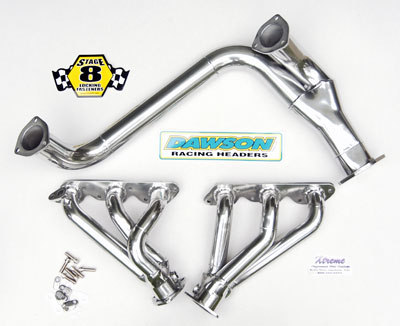
The finished Dawson Racing Headers with
the stock manifolds for comparison. |
|
 |
|
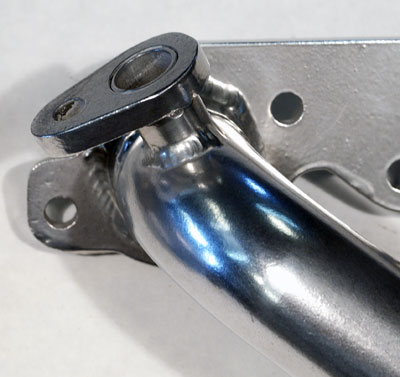
This is the EGR connection on the left
headers. As shown, this is the '98-'02
style. |
|
 |
|
Dawson Racing Headers after coating
inside and out by Extreme Performance
Heat Coatings. |