TracLink photo sequence
|
|
 |
|
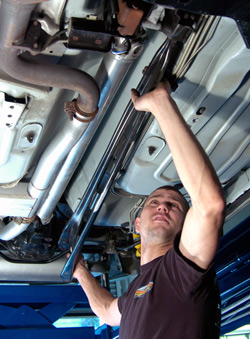
The stock torque arm is removed. |
 |
|
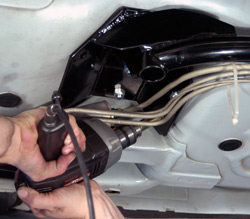
The fuel line retainers are temporarily removed
so the lines can be moved out of the way. |
 |
|
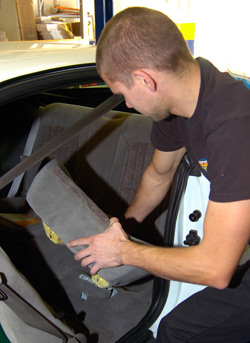
Remove the driver side rear seat cushion by
removing its retainer bolt and lifting up the cushion.
|
 |
|
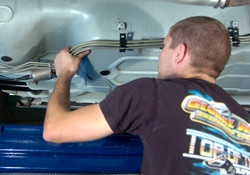
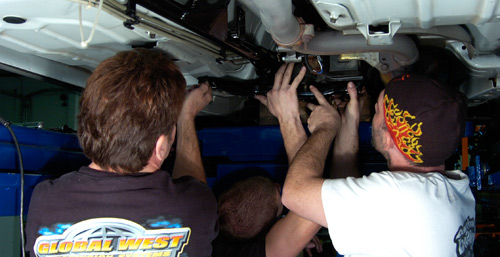
The body-mounted part of the TracLink is lifted
in place to be used as a template for holes to be
drilled in the driver side rear seat well. |
 |
|
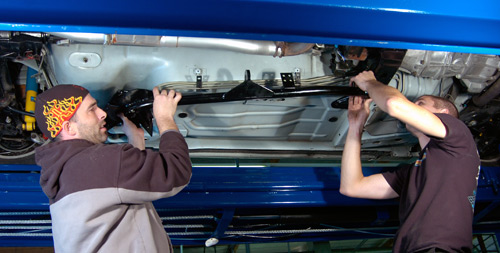
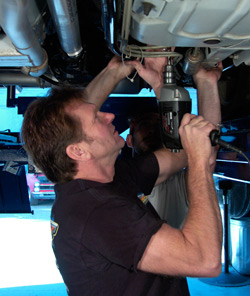
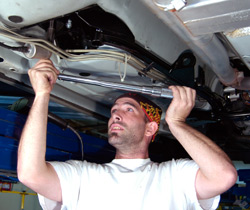
Global's owner, Doug Norrdin, drills the
initial holes for the rear mount of the TracLink. |
 |
|
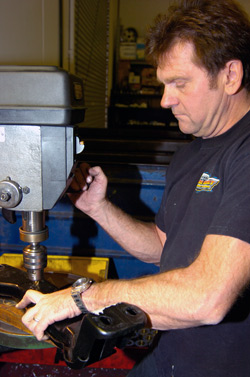
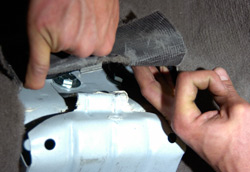
The stock transmission mount bracket is removed
and drilled for the TracLink's front attachment point. |
 |
|
The trans. mount bracket is reinstalled, |
|
 |
|
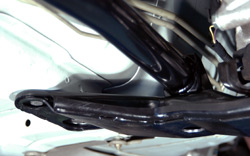
and the TracLink's front attachment point bolts
to the modified transmission crossmember. |
|
 |
|
The remaining holes for the rear mounting point
are drilled with the TracLink in place as a template.
|
 |
|
All TracLink mounting bolts must be torqued.
|
 |
|
After the bolts are tightened, the rear carpet
is repositioned and the seat cushion is reinstalled.
|
 |
|
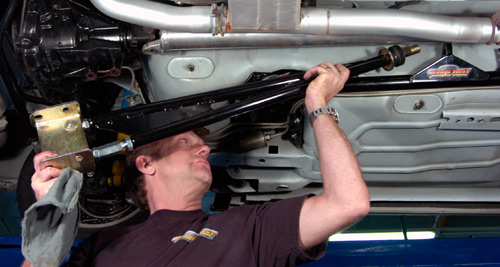
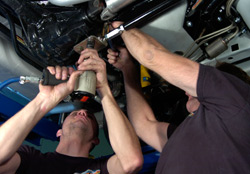
Doug Norrdin installs the TracLink's torque arm
assembly. |
 |
|
The torque arm rear bracket bolts to the rear
axle. Pinion angle is adjustable using the arm's
spherical bearings. |
 |
|
The torque arm's front mount is isolated by
urethane cushions and is held in place with a large nut.
|
 |
|
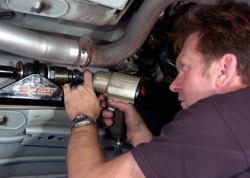
The nut is capped with a grease fitting. At
this arm slides in an out of the bracket on the TracLink,
it must be periodically greased. We use Red Line CV-2
Synthetic Grease.
|